Part 4: Prepping the Soil for Your Vegetable Garden
Think of your soil as the foundation of your vegetable garden. Good soil is like a 5-star restaurant for your plants, serving them the nutrients they need to thrive. Bad soil? Well, let’s just say it’s the gardening equivalent of a stale drive-thru burger. So, let’s turn that dirt into a rich, fertile masterpiece!
Step 1: Test Your Soil (Yes, Really)
Before you do anything, find out what you’re working with. A soil test kit from your local garden centre or extension service will give you the lowdown on:
- pH level (ideal range for most veggies: 6.0–7.0)
- Nutrient levels (nitrogen, phosphorus, potassium - NPK)
- Organic matter content
- Soil texture (clay, sandy, loamy)
A soil test is like reading the nutrition label on your food—it tells you what’s missing and what’s in excess. If the results make your soil sound like a science experiment gone wrong, don’t panic. It’s fixable!
Pro Tip: If you don’t want to DIY this, many agricultural extensions offer soil testing services with detailed recommendations.

Step 2: Improve Drainage
Vegetables love soil that’s loose and well-draining. If water tends to pool after rain, you’ll need to help it out.
For clay soil:
Add compost, coarse sand, perlite, or gypsum to break it up and improve aeration.
For sandy soil:
Add organic matter like compost or well-rotted manure to help retain moisture and nutrients.
For compacted soil:
Raised beds or broadforking (a fancy way of loosening soil without turning it over) can help with aeration and drainage.
Avoid:
Walking directly on garden beds! This compacts the soil and makes it harder for roots to spread. Stick to pathways instead.
Step 3: Add Organic Matter
Your soil’s secret weapon? Organic matter. It feeds your plants, improves structure, and helps retain moisture.
Compost:
The gold standard. Add a few inches and mix it in.
Aged manure:
Cow, horse, or chicken manure (fully composted) works wonders, but fresh manure can burn plants.
Leaf mould:
Decayed leaves are free, natural, and nutrient-rich.
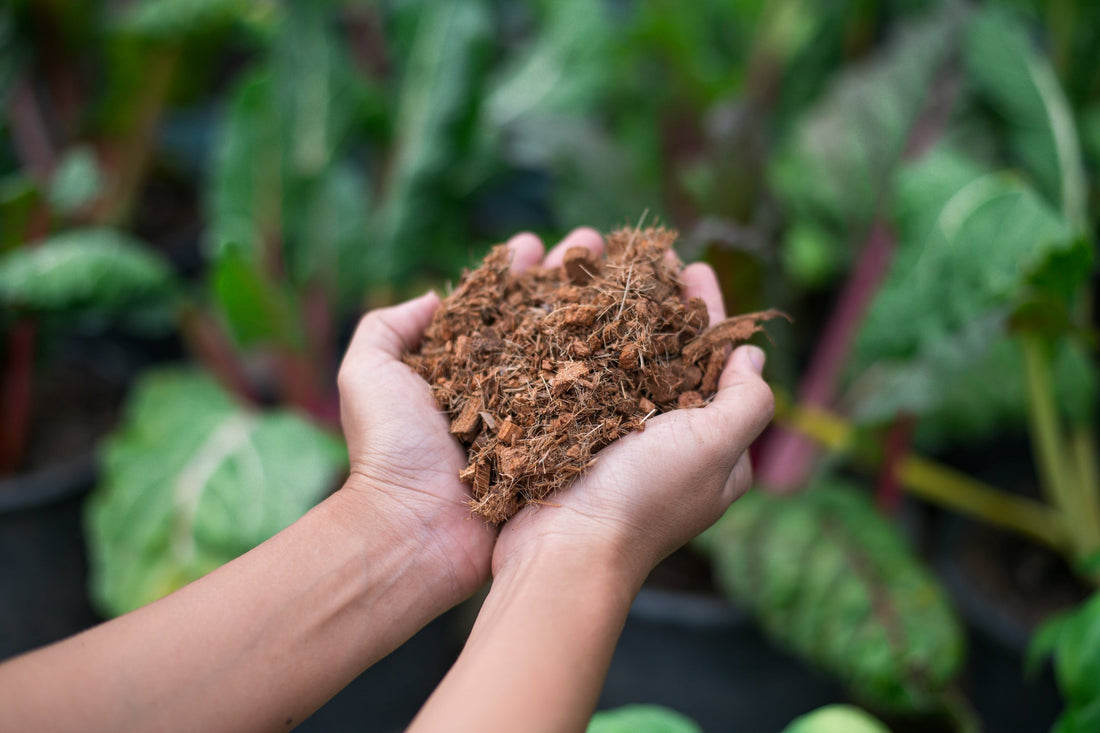
Coconut coir or peat moss:
Helps retain moisture in sandy soil.
Pro Tip: Start a compost pile if you haven’t already. Your future self (and your plants) will thank you.

Step 4: Adjust Soil pH
If your soil test shows your pH is off, adjust it:
- Too acidic (low pH): Add lime.
- Too alkaline (high pH): Add sulphur or organic matter like compost and pine needles.
Caution:
Adjust pH gradually—big swings can stress plants.
Step 5: Fertilize Wisely
Vegetables are nutrient-hungry, so a little extra fertilizer goes a long way. Choose between:
Organic fertilizers:
Compost, bone meal, blood meal, or fish emulsion.
Synthetic fertilizers:
Convenient but be cautious—overdoing it can harm soil life. Match your fertilizer to the crop:
Leafy greens (i.e. lettuce, spinach):
High nitrogen for lush growth.
Root crops (i.e. carrots, beets):
Balanced NPK (nitrogen, phosphorus, potassium).
Fruiting crops (i.e. tomatoes, peppers):
Higher phosphorus and potassium for strong roots and blooms.
Warning:
More fertilizer ≠ better plants. Follow instructions and avoid over-fertilizing.

Step 6: Weed the Area Thoroughly
Weeds are thieves—they steal nutrients, water, and sunlight from your veggies. Pull them out before they set up shop!
- Hand-pull weeds, especially perennials with deep roots.
- Use a hoe or garden knife for stubborn invaders.
- Apply mulch (see Step 8) to prevent future weed growth.
Pro Tip: If you have a big weedy area, try solarization—cover the soil with clear plastic for a few weeks to kill off weeds before planting.
Step 7: Build Healthy Soil Over Time
Soil prep isn’t a one-time deal. Keep it thriving throughout the seasons:
Crop rotation:
Don’t plant the same crops in the same spot every year. It prevents nutrient depletion and reduces pest problems.
Cover crops:
Sow clover, rye, or vetch in fall to fix nitrogen and improve soil health.
Continuous composting:
Top-dress your beds with compost between plantings to refresh nutrients.
Worms are your friends! If you spot them, leave them be—they aerate the soil and enrich it with castings.

Step 8: Mulch It Up
A layer of mulch is like a cozy blanket for your soil. It retains moisture, regulates temperature, and keeps weeds at bay.
Best mulch options for veggies:
Straw, shredded leaves, grass clippings, or wood chips.
How much?
Aim for 2–3 inches around your plants, but don’t smother the stems.
Bonus:
Organic mulches break down over time, adding nutrients back into the soil.
Pro Tip: In hot weather, mulch conserves moisture; in cold weather, it insulates the roots.
Georgina's Growing Zone 5 Considerations
Our growing zone 5 comes with its own soil challenges:
- Cold soil in spring: Raised beds or dark mulch can help warm the soil faster.
- Short growing season: Prepped soil allows plants to grow strong and fast.
- Frost heaving: Mulch in fall to protect roots from freeze-thaw cycles.
- Heavy snowfall: Plan for soil amendments early in spring before the ground fully thaws.
So there you have it, with your soil prepped and ready, your vegetable garden is off to an incredible start. In Part 5, we’ll explore planting and caring for your vegetables—from seeding tips to watering hacks and pest management. Get your hands dirty, and stay tuned for the next step in your gardening journey.
Happy gardening!


